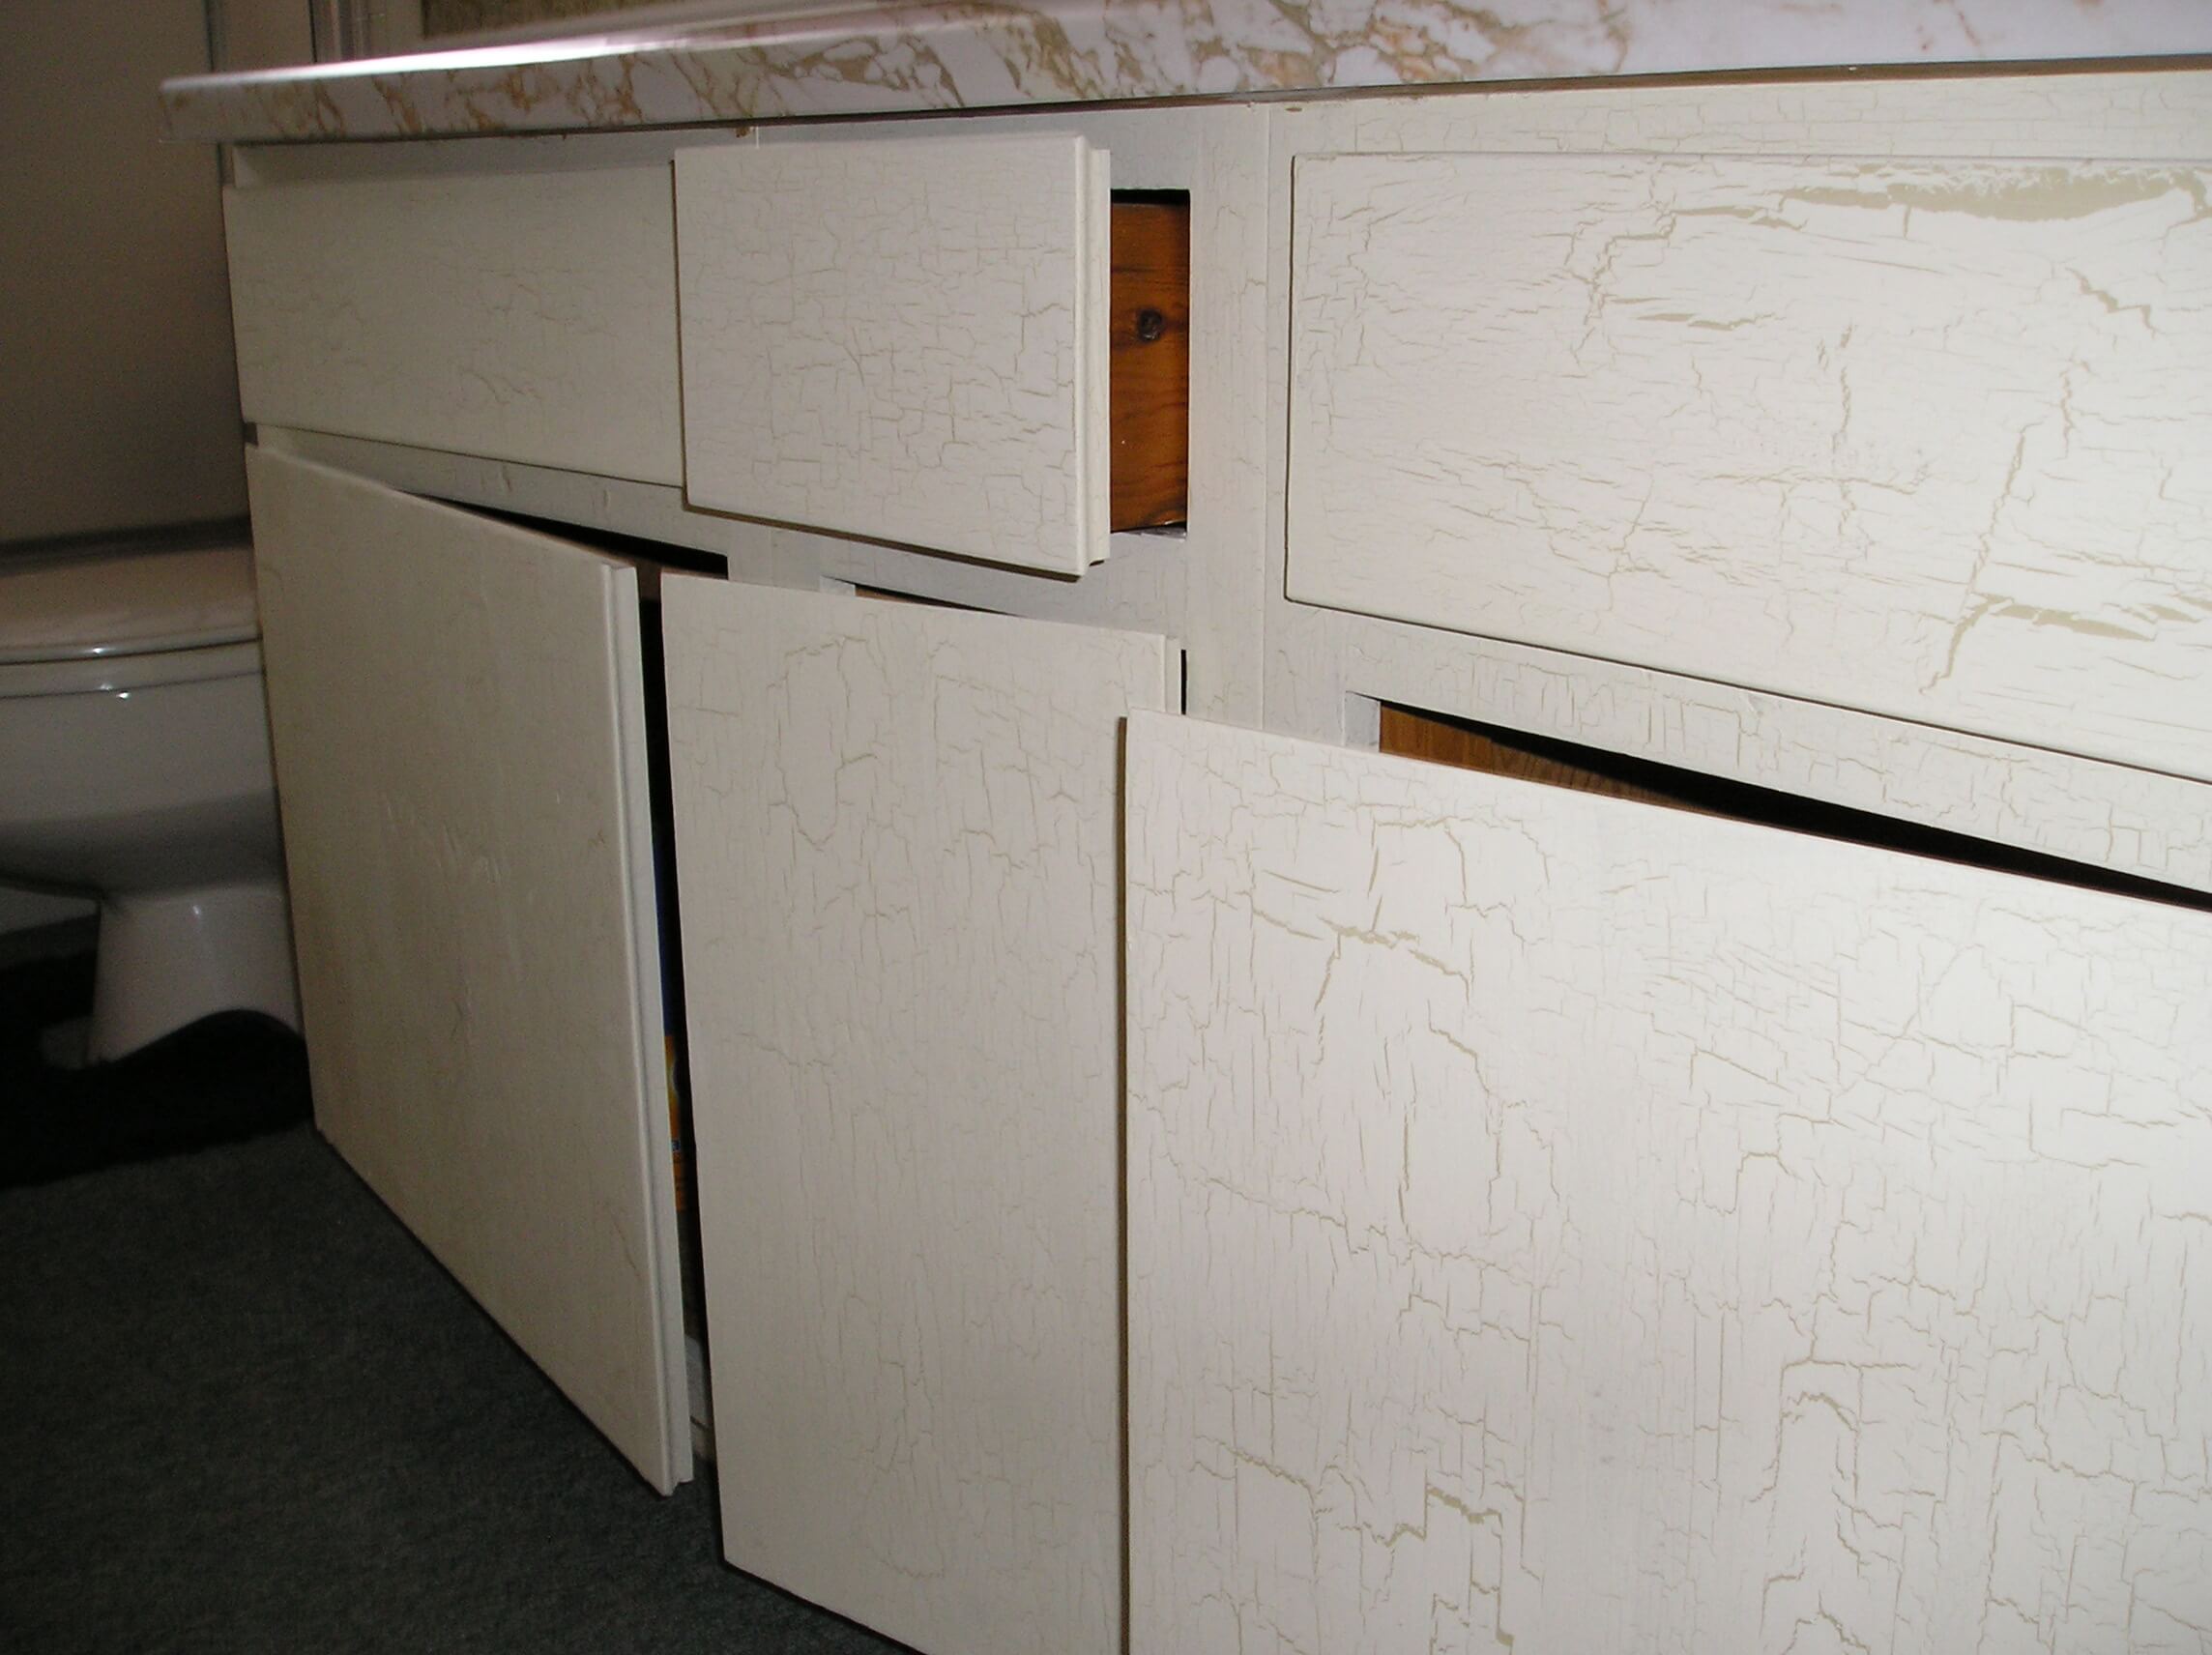
- Crackle painting is a great way to give a rustic, aged appearance to cabinets. In recent years, crackle finishing has become a very popular faux painting technique.
- Crackle painting is a faux painting technique that gives an old cracked paint appearance to the surface of wood. “Older” layers of paint show through the cracks, adding to the rustic appeal.
In short, crackling does a great job duplicating the natural paint crackling that often takes place on painted surfaces over time. Crackling is easy, inexpensive, versatile, and transforms nearly any wood object into a unique custom piece. It’s a popular finish for the country kitchen look.
So let’s gather the tools and materials and get started.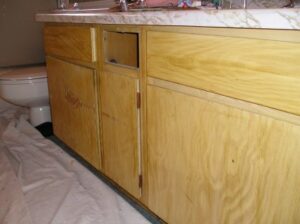
You’ll need a few things before getting started “crackle painting.” A trip to the local hardware or paint store will yield several products that will help achieve the crackle finish you desire.
- Sandpaper or sander
- Clean white rags
- Latex paint (two contrasting colors)
- 1/4″ or 3/8″ paint roller (for base coat, if area is sizable)
- Crackling glaze
- 2″ and 3″ latex paint brush
- Drop cloth or other protective material for your workspace, such as newspaper.
Step #1: Prepare the surface.
If you skip this step, your crackle finish will likely disappoint you. Be sure to sand the surface of the cabinet section you’re going to crackle paint. Wipe with a clean damp cloth and let dry.
Tip: If you don’t sand the surface, the paint may not adhere properly. Medium grade sandpaper would be appropriate for this process, unless your cabinet is in poor condition. If that’s the case, coarse sandpaper should be used first then finish with medium.
Step #2: Apply Base Coat
If you’re working with unfinished wood, it is advisable to apply a primer before your base coat. Choose a base coat color that contrasts with the top color (the crackle coat color), so it shows through the paint cracks. Contrasting colors offer the most authentic finish (mimicking the look of a cabinet that has been painted many different colors over the years).
Use any application technique that will produce a nice even finish. Try to minimize heavy brush marks by either applying two thin coats or using a sponge roller. Allow to dry completely before moving to the next step.
Step #3: Apply the Crackle Glaze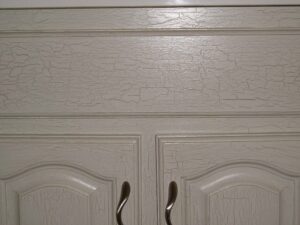
The crackle glaze is a clear-slightly milky “paint” that reacts with the final finish coat. How this glaze is applied determines how the paint cracks and how large these cracks are.
- Use a brush only to apply the crackle finish glaze. Sponge roller or other applicators will not produce a nice crackle finish.
- Apply in the direction of the wood grain. The direction the glaze is applied is the direction the paint will crack. Sticking to one direction usually produces the best results.
- The thicker the glaze the larger the cracks will be. You will need to judge for yourself what the best thickness is. Practicing on a scrap piece of wood might be a good idea.
Allow the crackle glaze to dry according to the manufactures instructions. This usually takes 30 minutes to an hour. Right after this glaze has dried continue to the next step. Don’t wait too long or you will need to reapply the glaze.
Step #4: Apply the Crackle Paint
This coat will crackle as it dries. The drying process creates the two color effect you’re after. Use the following tips to have the best experience with crackle painting.
- Use a flat sheen latex paint, it cracks easily. A satin paint might not create the cracks correctly as it is a stretchy/flexible paint when dry.
- The thicker you apply the crackle paint, the larger your cracks will be. The thinner you apply the paint the finer the cracks will be.
- Apply with a natural sea sponge, brush or roller. A sponge or brush works the best. A brush will provide an additional direction to cracks. Using a sponge will produce a random pattern with smaller cracks. Apply quickly. The paint reacts with the glaze immediately one applied.
- Don’t go back over the previously applied paint. This will ruin the finish.
Allow the final coat of paint to dry completely. At this point you are finished or add one additional step; apply a coat of clear sealer for added protection. Using an acrylic urethane will easily protect your hard work and add years of extra service to new cabinet finish.
Related Articles
Antiquing Cabinets Using Stain
Crackle Paint – Gathering the Right Tools to Create a Rustic Look
New Cabinet Finishes – How to Distress Without Damaging Your Kitchen Cabinets
Beeswax Distressing – Creating a New Cabinet Look
About the Author:
Crowder Painting offers complete interior and exterior painting services in Colorado Springs with an eye on the details. We have all the tools, experience and knowledge to do the job right. Receive a paint job that lasts; Give us a call, all estimates are free.