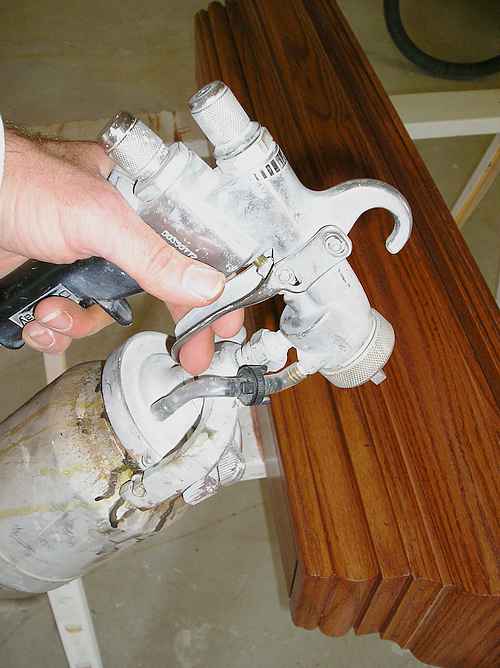
 An hvlp spray gun can be difficult to use at first. Spraying any clear finish or paint with an hvlp or cup gun can be a little tricky, but with practice using this type of paint spaying equipment will become easy. A HVLP system is great for spraying a variety of house paints, primers and clear wood finishes. The end result is difficult to duplicate with other equipment or manual application.
Begin by spending some time stirring and thinning the product to be sprayed. Thinning is the tricky part. The consistency must be thin enough to produce a fine mist, atomization, but thick enough produce a good build or thickness of material.
If a paint is to thin the colorant will separate from the binders, floating on top. You will have to experiment a bit to get used to this idea; every product is a little different.
A good way to determine the viscosity is to use a clean stir stick. Insert the stick into the material, pull out the stick and count how long it takes for the steady stream to break, turn into dripping. Count in seconds. I use 20-25 seconds for Acrylic paint and Alkyd paints and 15-20 for oil base varnishes. This will take some practice. For greater accuracy and reliability purchase a viscosity cup. And always follow the manufactures instructions.
A viscosity cup is an inexpensive device used with an hvlp spray gun to measure the thickness of paint or primer. Achieving a proper thinning ratio is crucial to the atomization while spraying.
Using a Viscosity Cup
- Completely submerge the cup in the coating to be sprayed.
- Lift the cup out of the coating and begin timing until the first break in the stream of material coming out of the bottom of the cup. Measure in seconds, a stopwatch will be helpful.
- Consult the manual supplied by the manufacture for viscosity recommendations.
To practice with the hvlp spray gun use a piece of cardboard or other material that can be thrown away. Adjust the air pressure and volume according to the guns instruction and turn off the material feed. When you pull the trigger only air, not paint will exit the tip.
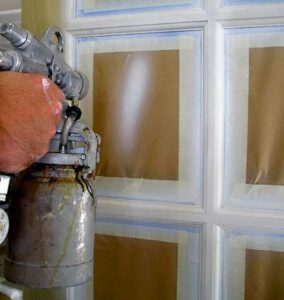
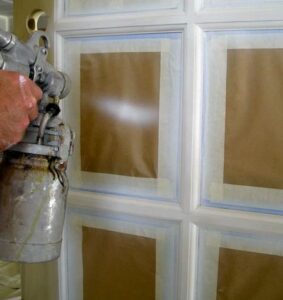
Now pointing the gun at some cardboard slowly open the material feed and pull the trigger. You want a fine mist but a steady flow of material. Keep the gun perpendicular and 6-8 inches from the surface.
Filter Your Finish
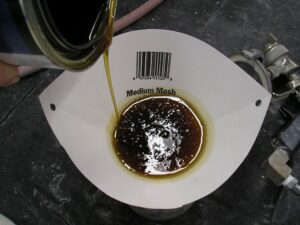
Cleanliness or filtered paint/varnish is of the utmost importance for any paint sprayer but HVLP units require a little extra care. Disposable cone filters a the best for small amounts or for using cup-guns. These filters are inexpensive and worth having in any shop.
Make sure to always filter your material, primer paint and varnish, before spraying.
Adjusting the Spray Pattern and Volume
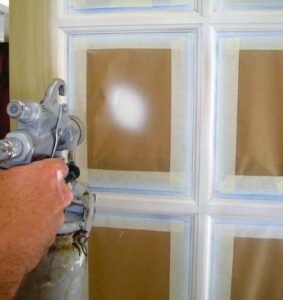
3 different spray patters are possible with most HVLP spray guns; round, vertical and horizontal. Although vertical and horizontal patterns are easy to understand, you need to be aware of the round patterns limitations. The round patters concentrates more material into a tighter space. You need to adjust the volume differently for the round pattern.
Most HVLP spray guns have both air volume and material volume adjustments. Generally, you want to use the least or lowest material and air volume possible to minimize overspray and heavy looking finishes. This takes practice. I suggest practicing on cardboard. Cardboard is useful for getting the adjustments right before spraying any project.
HVLP guns consume less air than conventional spray equipment and produce up to 50% less overspray. Since thin coats are being applied less material is required to achieve the final effect. These thin coats dry in less time allowing a completed project with a smooth finish in less time than any other application method.
An especially useful tool for spraying difficult finishes like interior wood stains and lacquer.
An hvlp spray gun is great for fine finishes and quite fun to work with. Since the paint to be sprayed goes on in a fine mist you can take your time, have fun and achieve a beautiful finish.
Check out Tips for Choosing the Right HVLP Paint Sprayer for more info on HVLP srayers.
About the Author:
Crowder Painting is a Colorado Springs Colorado house painting contractor specializing in interior and exterior re-painting, new construction, detailed specialty finishes, wood finishes and custom cabinet refinishing.

